How to Get Custom Packaging: A Step-by-Step Guide for Cosmetic Brands
Introduction
Welcome to Custom Beauty Box, your premier destination for high-quality custom packaging solutions tailored specifically for cosmetic brands.
In today’s competitive market, custom packaging plays a pivotal role in defining your brand’s identity and enhancing customer experience.
This blog aims to guide you through the process of obtaining custom packaging at CustomBeautyBox Packaging, ensuring that your brand stands out with unique, eye-catching packaging that resonates with your target audience.
Section 1: Understanding Custom Packaging
Definition and Benefits of Custom Packaging
Custom packaging refers to creating uniquely designed boxes and containers tailored to fit your products’ specific needs and branding.
Unlike generic packaging, custom packaging is personalized to reflect your brand’s identity, enhancing the overall appeal and functionality.
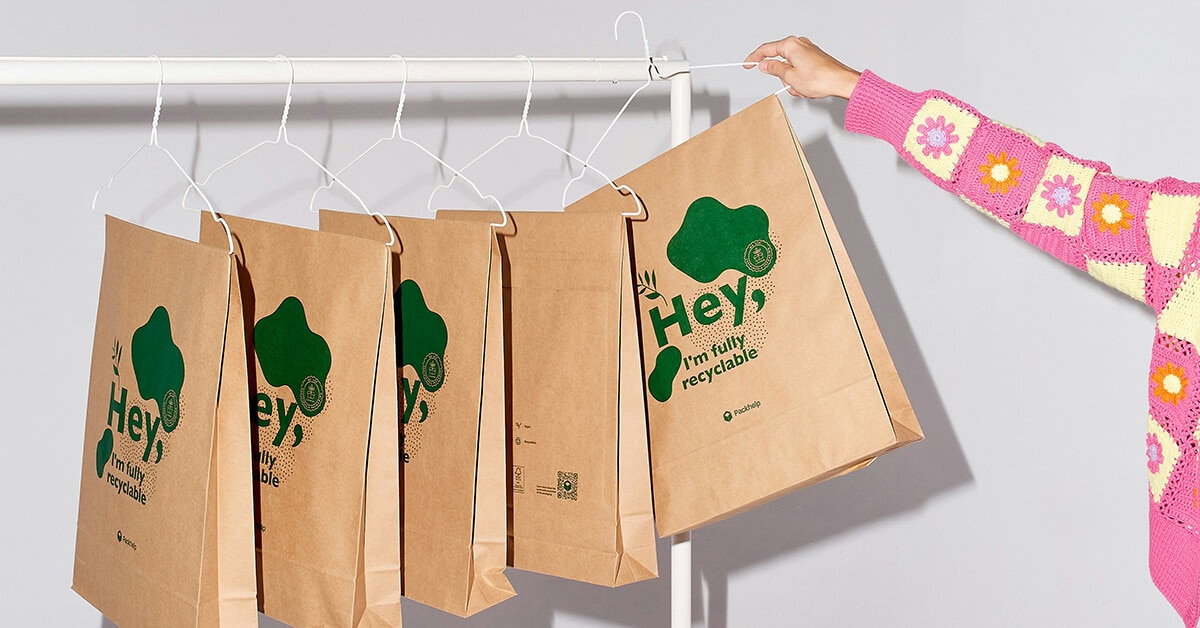
The benefits of custom packaging include:
- Brand Recognition: Custom packaging helps your products stand out on the shelves, making it easier for customers to recognize and remember your brand.
- Professional Appearance: High-quality, well-designed packaging conveys professionalism and attention to detail, boosting customer confidence in your products.
- Enhanced Protection: Custom packaging is designed to fit your products perfectly, providing better protection during shipping and handling.
- Marketing Tool: Packaging can serve as an additional marketing tool, conveying important information about your brand and product features.
Importance of Custom Cosmetic Packaging for Brand Identity and Customer Experience
In the cosmetic industry, where aesthetics and brand image are crucial, custom cosmetic packaging is essential.
Here’s why:
- Brand Identity: Custom packaging allows you to incorporate your brand’s colors, logos, and design elements, creating a cohesive and recognizable brand identity. This consistency helps build brand loyalty and trust.
- Customer Experience: The unboxing experience is a significant part of the customer journey. Attractive, well-designed packaging enhances the overall experience, making customers feel valued and increasing the likelihood of repeat purchases.
- Differentiation: With numerous cosmetic brands in the market, custom packaging sets your products apart from the competition. Unique and innovative packaging designs can attract more customers and drive sales.
- Sustainability: Custom cosmetic packaging can be designed with eco-friendly materials, appealing to environmentally conscious consumers and enhancing your brand’s reputation.
- Understanding the impact of custom packaging on your brand’s success is the first step towards creating packaging that not only protects your products but also elevates your brand’s image and customer satisfaction.
Section 2: How to Get Custom Packaging?
Step 1: Identify Your Packaging Needs
The first step in getting custom packaging at CustomBeautyBox.com is to clearly identify your packaging needs.
This involves several considerations to ensure that the packaging perfectly aligns with your product and brand requirements.
Determine the Type of Packaging Needed
Start by deciding what type of packaging is best suited for your product. For example, if you are packaging a lip balm, you might need custom lip balm tube packaging. Consider the specific requirements of your product, such as:
- Product Type: Different products require different types of packaging. For instance, creams, serums, and powders each have unique packaging needs.
- Packaging Functionality: Consider the functional aspects of the packaging, such as ease of use, protection, and convenience for the consumer.
Consider Factors Like Product Size, Shape, Material Preferences, and Plastic-Free Needs
To ensure the packaging meets all your needs, consider the following factors:
- Product Size and Shape: Measure your product accurately to determine the exact dimensions of the packaging. The packaging should fit the product snugly without being too tight or too loose.
- Material Preferences: Choose materials that best suit your product and brand image. Options might include cardboard, kraft paper, or more luxurious materials like EVA foam, velvet or satin-lined boxes. If sustainability is a priority, opt for eco-friendly materials such as recyclable or biodegradable options.
- Plastic-Free Needs: If your brand focuses on sustainability, consider plastic-free packaging options. CustomBeautyBox.com offers a variety of sustainable materials that can help reduce your environmental impact and appeal to eco-conscious consumers.
By thoroughly identifying your packaging needs, you can ensure that the custom packaging you create will not only protect and present your product effectively but also enhance your brand’s image and meet your customers’ expectations.
Step 2: Design Your Packaging
Once you have identified the size and dimensions for your lip balm tube packaging, the next step is to design your packaging.
CustomBeautyBox.com will provide you with a die-line file, which serves as a template for your design.
While our packaging manufacturing factory focuses on production, we recommend seeking the help of professional designers for the initial creative design. Here are the steps and guidelines to ensure your design is ready for print.
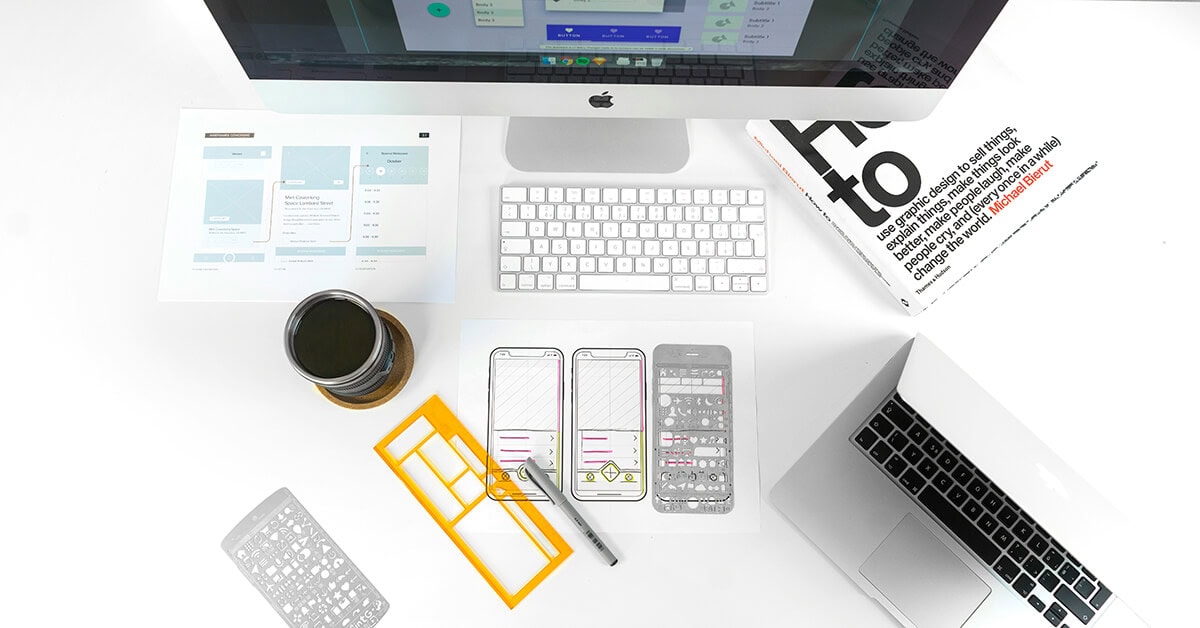
Designing on the Die-Line
- Obtain the Die-Line File: Once the packaging size and dimensions are decided, CustomBeautyBox.com will provide you with a die-line file. This template outlines the areas where your artwork can be placed.
- Design or Hire a Designer: You can create the design yourself using graphic design software or hire an online designer. Ensure that the design aligns with your brand’s aesthetics and product requirements.
Design and Artwork Guidelines
To ensure the highest quality in your custom packaging, follow these design and artwork guidelines:
- File Format: Use AI, PDF, or EPS file formats as these are the most accepted and preferred for printing.
- Color Space: Design in the CMYK color space instead of RGB to ensure color accuracy in printing.
- Text Conversion: Convert all text in the design into curves (outline the text) to avoid font issues during printing.
- Black Elements: Ensure that all black elements in your design use a 100% K value.
- Template Integrity: Do not flatten, change the dimensions, or alter the lines of the template (die-line).
- Embedding: Make sure all images and patterns are appropriately embedded in the design file.
- Surface Treatments: If you require surface treatments such as UV, foiling, embossing, or debossing, vectorize these elements.
Understanding our Die-Line (Template)
- Die-Cut (Red Lines): This area indicates where you can place your designed artwork. Ensure your design extends to the bleed line for seamless printing.
- Safety Margin (0.125 inches inside the Die-Cut): Keep important design elements within this margin to avoid them being cut off.
- Curling (Green Line): Indicates where the product will be folded.
- Bleed (Yellow Lines): Extend any artwork that reaches the die-cut to this line to avoid white edges.
Tips for Creating Effective and Attractive Designs
- Branding Elements: Incorporate your brand’s logo, colors, and typography consistently to enhance brand recognition.
- Visual Appeal and Functionality: Balance aesthetics with functionality. Ensure that your design is visually appealing while being practical for the end-user.
Step 3: Choose the Right Materials and Finishes
Choosing the right materials and finishes for your custom packaging is crucial in ensuring that your packaging not only looks great but also serves its functional purpose.
Here’s an overview of the options available and how they impact your packaging.
Overview of Material Options-Lip Balm Tube Packaging Example
When it comes to custom lip balm tube packaging, we offer a variety of material options to suit different preferences and needs:
- Smoothing C1S/C2S Paper: These options provide a smooth surface ideal for high-quality printing. C1S (coated one side) and C2S (coated two sides) papers are excellent for vibrant, detailed designs.
- Kraft Paper with Natural Texture: Kraft paper offers a rustic and eco-friendly appearance, perfect for brands aiming for a natural and organic look. Its texture adds a tactile element to the packaging.
- Specialty Papers: For a unique and premium feel, consider specialty papers like laser paper, which has a reflective, shiny surface, or leather-like paper, which mimics the texture of leather.
Explanation of Different Finishes
The finish applied to your packaging can significantly impact its appearance and feel. Here are some common finishes and their effects:
- Matte Finish: A matte finish provides a non-glossy, sophisticated look. It reduces glare and fingerprints, giving the packaging a soft, elegant appearance.
- Gloss Finish: Gloss finishes add shine and vibrancy to the colors, making the design pop. It’s ideal for packaging that needs to stand out on the shelves.
- Embossing/Debossing: These techniques add a three-dimensional effect to the packaging by raising (embossing) or indenting (debossing) the design elements. This adds a tactile and premium feel to the packaging.
- Aqueous Coating: For a plastic-free option, aqueous coating is a water-based finish that provides protection without the use of plastic. It offers a slight sheen and is environmentally friendly.
Choosing the right combination of materials and finishes can enhance the overall presentation and perception of your product, aligning it with your brand’s values and aesthetics.
Step 4: Get a Quote
Once you have your design and material preferences ready, the next step is to get a quote from CustomBeautyBox.com. Here’s how to do it:
How to Request a Quote?
- Visit CustomBeautyBox.com: Navigate to the quote request section on the website. Each product page can help you to reach out to us.
Or, simply click here to send us an e-mail and tell us your packaging needs.
- Provide Detailed Information: Fill out the quote request form with detailed information about your packaging needs. This includes:
-
- Quantity: How many units do you need?
- Size/Dimensions: What are the exact measurements of your packaging?
- Insert Needs: Do you require any inserts for additional protection or presentation?
- Material & Finishing: Specify the materials and finishes you have chosen.
- Delivery Address: Where do you need the packaging delivered?
Factors That Influence the Cost
Several factors can influence the cost of your custom packaging:
- Order Volume: Larger orders generally have a lower cost per unit.
- Material Choice: Premium materials and finishes may increase the cost.
- Design Complexity: Intricate designs or additional features like embossing can add to the price.
Get a Fast Quote
For a fast quote, you can provide the basic elements even if you haven’t decided on all the details.
Our sale representatives will work with you to finalize the specifics and provide an accurate estimate.
By following these steps, you can ensure that you get the perfect custom packaging for your cosmetic products, tailored to your brand’s unique needs and preferences.
Step 5: Place a Sample Order (Optional)
Before proceeding with the full production run, placing a sample order can be a valuable step to ensure everything meets your expectations.
- 3-5 Working Days: The turnaround time for a sample order is typically 3-5 working days.
- Benefits of a Sample Order:
-
- Realize Your Design: See your design come to life in a simple digital sample form.
- Size Confirmation: Ensure the packaging size is correct and meets your needs.
- Check for Errors: Inspect the printing content position and identify any small mistakes that may not be visible on the screen.
- Sample Fee: The sample fee will be refunded or can serve as a discount for mass-production orders over 5,000 pieces.
Step 6: Review and Approve the Proof
Before your custom packaging goes into full production, it’s crucial to review and approve the digital sample proof provided by CustomBeautyBox.com.
Importance of Reviewing the Digital Proof
The digital proof is a final version of your design that shows exactly how the packaging will look when printed. Reviewing this proof is essential to ensure that:
- All design elements are correctly placed.
- Colors are accurate and consistent with your brand.
- The text is legible and properly aligned.
- No errors or omissions are present in the design.
Tips for Checking Design Details and Ensuring Accuracy
- Examine All Elements: Carefully inspect all aspects of the design, including images, logos, text, and any special effects (like embossing or foiling).
- Check Measurements: Verify that the dimensions and layout match your specifications and that the design fits within the die-line correctly.
- Proofread Text: Ensure all text is spelled correctly, properly aligned, and formatted as intended. Convert all text to curves to prevent font issues.
- Color Consistency: Confirm that the colors in the proof are accurate and consistent with your brand guidelines. Make sure the design uses the CMYK color space.
- Special Treatments: If you are using special treatments like UV coating, embossing, or foiling, ensure these elements are vectorized and correctly positioned in the design.
- Final Approval: Once you are satisfied that everything is correct, approve the proof to proceed with production.
Taking the time to thoroughly review the digital proof will help ensure that your custom packaging is produced exactly as you envisioned, minimizing the risk of errors and ensuring a high-quality final product.
Step 7: Production and Delivery
Once you have reviewed and approved the digital proof, the final step is to place your order and proceed with production and delivery.
Here’s what you need to know:
Overview of the Production Timeline
After approval, your custom packaging will move into the production phase. The timeline for production can vary based on the complexity and volume of the order, but here’s a general overview:
- Standard Production Time: Typically, the production process takes about 10-25 working days. This includes printing, cutting, finishing, and quality checks.
- Rush Orders: If you need your packaging sooner, inquire about rush order options. This might incur additional costs but can significantly shorten the production time.
Shipping Options and Delivery Timeframes
CustomBeautyBox.com offers several shipping options to meet your delivery needs:
- Standard Shipping: Usually takes 5-7 working days after the production is complete. This is a cost-effective option for non-urgent orders.
- Expedited Shipping: For faster delivery, expedited shipping can deliver your order in 3-6 working days post-production. This option is ideal for urgent needs.
- Shipping by Sea: Delivery times vary based on location, typically 15-30 days.
Tracking Your Order
Once your order has been shipped, you will receive a tracking number via email. This allows you to monitor the progress of your shipment and estimate the delivery date. Here’s how you can track your order:
- Email Notification: Look out for an email from CustomBeautyBox.com with your tracking number and a link to the shipping carrier’s website.
- Track Online: Visit the carrier’s website and enter your tracking number to view the latest updates on your shipment status.
- Customer Support: If you encounter any issues or have questions about your shipment, contact CustomBeautyBox.com’s customer support for assistance.
By following these steps, you can ensure a smooth and efficient process from production to delivery, guaranteeing that your custom packaging arrives on time and meets your expectations.
Conclusion
Getting custom packaging for your cosmetic products at CustomBeautyBox.com is a straightforward process designed to ensure your packaging is both beautiful and functional. Here’s a recap of the key steps:
- Identify Your Packaging Needs: Determine the type, size, and material of the packaging required for your product.
- Design Your Packaging: Use the provided die-line file to create your design, following our guidelines to ensure print-ready artwork.
- Choose the Right Materials and Finishes: Select materials and finishes that align with your brand’s aesthetics and sustainability goals.
- Get a Quote: Request a detailed quote based on your packaging specifications.
- Place a Sample Order (Optional): Order a sample to verify design and functionality before mass production.
- Review and Approve the Proof: Carefully review the digital proof to ensure accuracy before production.
- Production and Delivery: Understand the production timeline, shipping options, and how to track your order.
By following these steps, you can create custom packaging that enhances your brand identity and delivers an exceptional customer experience.
We encourage you to start the customization process today!
Visit CustomBeautyBox.com to begin your custom packaging journey and elevate your brand’s packaging to the next level.
